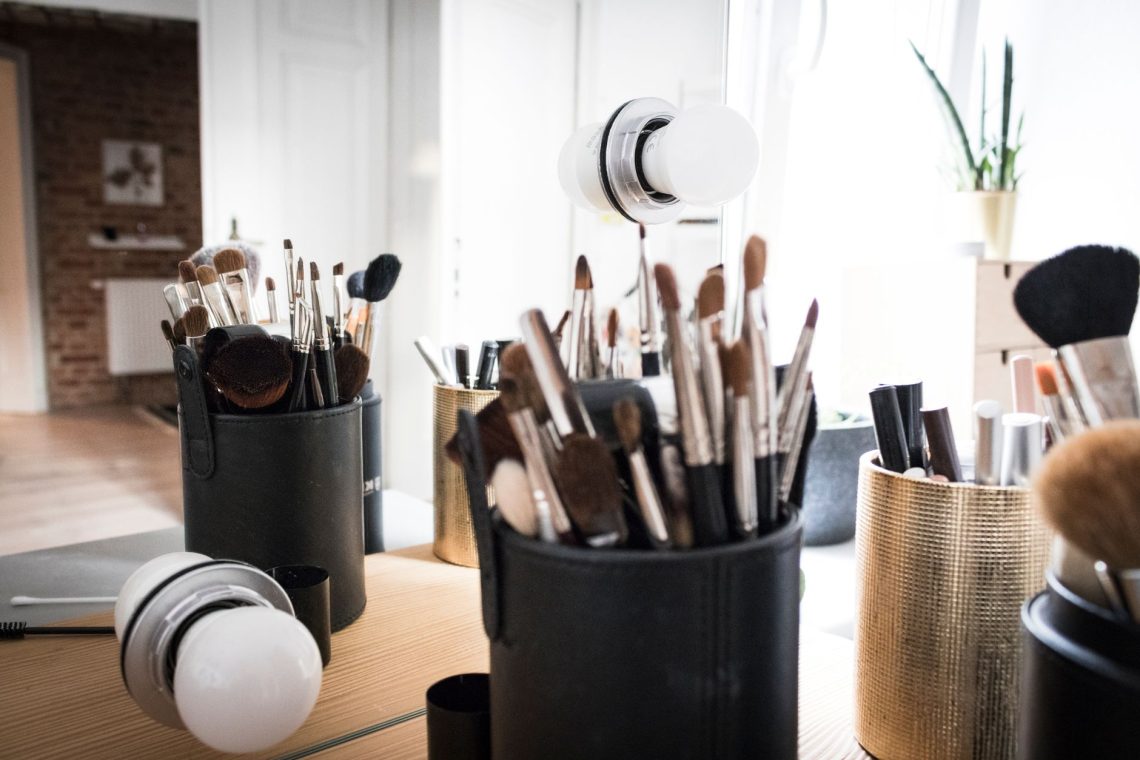
Sunday night is a useful moment to give your makeup brushes a fresh start. The weekend’s lipstick, foundation and eyeshadow can come off while you wind down, leaving your everyday tools ready for the week ahead. The trick is to keep the wash manageable and give the bristles plenty of air afterwards.
You cannot guarantee that every brush will dry by breakfast. A tightly packed foundation brush needs longer than a small eyeshadow blender, especially in a cool room. But washing early in the evening, removing excess water carefully and arranging brushes properly gives them the best chance. Here is a simple routine that fits around the rest of your Sunday.
Choose a small, useful batch
Start with the brushes you actually used this week. There is little point washing an untouched brush simply because it lives beside the others. Set out your foundation or concealer brush, your usual cheek brushes and the eye brushes that have collected colour.
If you have a large collection, divide it into everyday favourites and occasional extras. Keeping the regular wash focused makes it easier to finish properly. Leave yourself enough evening for drying, rather than beginning just before you switch off the lights.
A Sunday wash is a helpful habit, but it should not become a reason to leave a visibly dirty brush sitting until the weekend. Brushes loaded with cream or liquid makeup may need attention sooner. Wash them when needed and let them dry completely before using them again.
Gather everything before turning on the tap
You do not need an elaborate brush spa. A clear patch beside the basin and a clean drying area will do. Check any care instructions that came with your brushes, particularly if they have natural hair, unusual handles or a specialist finish.
- A gentle brush cleanser suitable for the bristles.
- Lukewarm running water.
- A clean towel for blotting excess moisture.
- A dry, clean surface with room to lay brushes separately.
- An optional textured silicone cleaning mat.
If you are using a mild liquid soap instead of a dedicated cleanser, check that the brush maker allows it and use only a little. Strong detergents, household cleaners and heavily oily mixtures can make the job harder on delicate fibres or leave residue. More foam does not mean a better wash.
Wash the bristles, keeping the handle dry
1. Wet the tips with lukewarm water
Hold the brush with its bristles pointing downwards. Let water run through the working end, turning it gently so the fibres become wet. Keep the flow away from the handle and the ferrule, which is the metal sleeve holding the bristles in place.
Avoid soaking the whole brush in a bowl. Water sitting around the join can affect the glue and handle over time. Hot water is unnecessary too: comfortably lukewarm water is enough for this routine.
2. Work in a small amount of cleanser
Put a little cleanser into your clean palm, or use your cleaning mat according to its instructions. Move the damp bristles through it with gentle strokes or small circles, following the brush’s shape. A fluffy powder brush needs a light touch; there is no need to flatten it against your hand.
For a flat foundation brush, stroke the bristles back and forth rather than twisting them into a knot. With a dense buffing brush, gently ease the fibres apart with your fingertips so the cleanser can reach trapped makeup. Do not pull at them or dig into the base.
3. Rinse, then check
Rinse with the bristles still pointing downwards. Gently move the fibres under the water until the lather has gone. If you can still see foundation lodged inside or feel a slippery coating, repeat with a small amount of cleanser and rinse again.
Some pigments leave a stain even after washing. Judge the brush by whether makeup is still rinsing out and whether the fibres feel free of product, rather than scrubbing endlessly to restore their original colour. Persistent colour and remaining makeup are not always the same thing.
4. Blot and reshape immediately
Gently squeeze water from the bristles towards the tips, without wringing or twisting. Press them into a clean towel, using a fresh section as it becomes damp. The aim is to absorb moisture while preserving the brush’s shape.
Use your fingers to smooth a flat brush back into its edge or coax a fluffy brush into its rounded shape. Deal with each brush as you finish washing it, so wet tools are not left piled together beside the basin.
Set up a drying spot that works overnight
Airflow and careful blotting matter more than extra heat. Choose a dry room with some circulation, away from shower steam. Lay the handles on a clean, stable surface with the bristle heads extending over the edge, where air can reach around them. Make sure the brushes cannot roll off or be knocked down.
If that arrangement is impractical, lay them flat on a clean, dry towel with space between each one. Replace a damp towel rather than letting the brush heads rest on it all night. Avoid bunching several brushes together or covering them with another towel.
Do not stand wet brushes upright in their storage pot. That encourages moisture to travel towards the ferrule rather than away from it. Save the pot for brushes that have dried fully.
Skip the radiator, heated towel rail and hot hairdryer. Direct heat can be hard on handles, glue and bristles. A room with gentle air movement is a better place to leave them while you sleep.
Give dense brushes a little extra planning
Large, tightly packed brushes are the awkward guests at an overnight wash. Their outer fibres may feel dry while the middle remains damp. Wash these first and take extra care with the towel blotting, gently pressing from different sides without crushing the head.
If your morning routine depends on one dense foundation brush, consider washing it earlier on Sunday. You can also plan a morning look that uses a different, clean tool if it needs more time. There is no useful shortcut in putting a damp brush straight back into foundation.
Smaller eye brushes and loosely packed powder brushes usually have less moisture to lose, but still check each one. Drying depends on the brush, the room and how much water remains after blotting, so treat morning readiness as something to check, rather than a promise.
Do a quick Monday-morning check
Before using a brush, feel gently into the centre of the head with clean fingers. If the fibres feel damp or clammy, leave it out to dry for longer. Fluff a fully dry powder brush lightly with your fingertips, then return it to clean storage.
Wipe any makeup residue from the storage pot and let that dry too. Putting clean brushes straight into a dusty container rather spoils the fresh start. Keep the heads uncrowded so their shapes are not bent out of place.
The most useful Sunday routine is one you can repeat: gather the week’s working brushes, wash gently, blot thoroughly and leave them somewhere airy. Begin early enough, keep the batch sensible and your Monday makeup has a much better chance of starting with clean, dry tools.