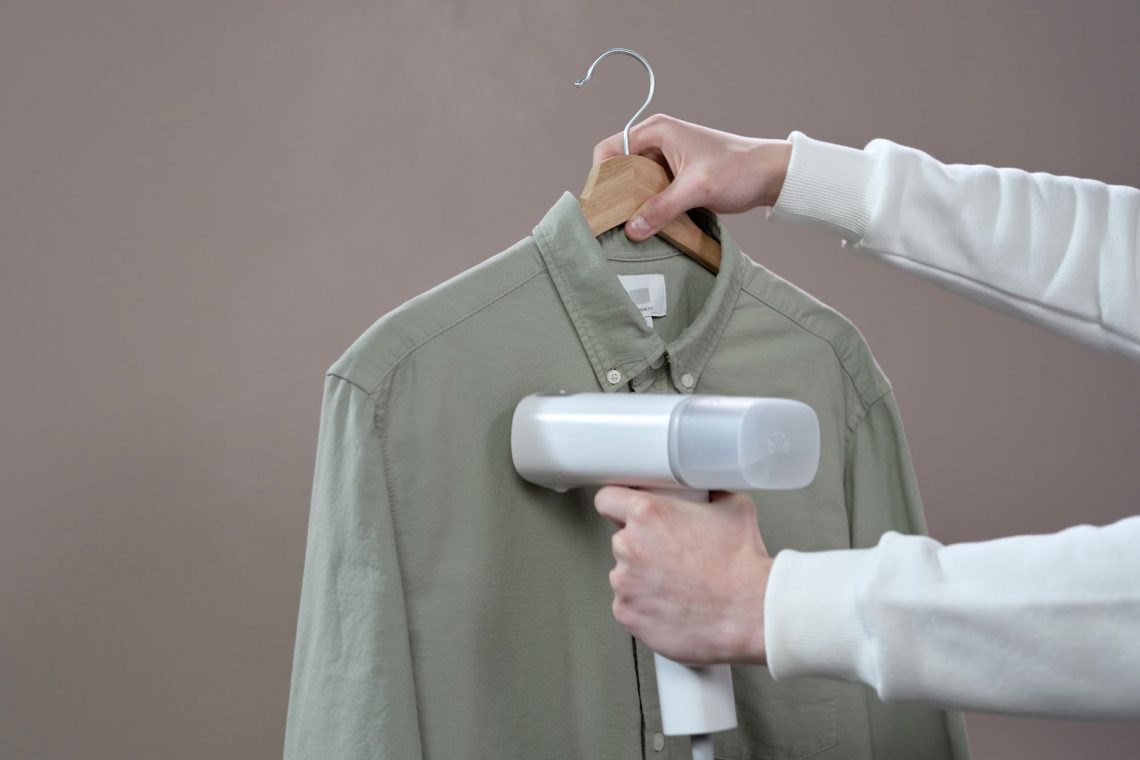
A neatly pressed collar gives a shirt its shape, whether you wear it beneath a blazer or open at the neck. Yet it is easy to iron the collar beautifully flat and find that it slumps as soon as you put the shirt on. The missing step is often shaping the band beneath the collar and allowing everything to cool before wearing it.
To press a shirt collar so it stays standing, work in a simple order: smooth the underside, press the outside, tidy the collar stand, then shape and cool. Aim for an upright band with a natural fold above it, rather than a stiff crease forced all the way around your neck.
Know which part needs to stand
On a typical formal shirt, the collar has two main parts. The visible folded section frames your face and ends in the points. The narrower band beneath it, called the collar stand, sits around your neck. If that band is crumpled or folded over, even crisp points can look droopy.
Construction matters, too. A softly made linen shirt will have a more relaxed collar than a structured cotton shirt. Pressing can make either look tidier, but it cannot give a soft collar the support of a different design. For an open neckline, look for a clean curve around the neck and points that sit evenly.
Prepare the shirt and ironing space
Check the care label before switching on the iron. Use the temperature and steam setting permitted for the whole garment, including any blended fibres or trims. A higher setting is not a shortcut to a firmer collar. If the label says not to iron, use a suitable alternative care method.
Set up a stable ironing board with a smooth cover. A rumpled cover can leave impressions in the fabric, particularly around the collar edges. Make sure the iron’s soleplate is clean, and have a clean pressing cloth nearby if the fabric needs protection from direct contact.
- Unbutton the shirt, including any buttons securing the collar points.
- Remove detachable collar stays before ironing.
- Check that the collar is clean; pressing is not a substitute for washing.
- If the care instructions allow it, lightly dampen a dry collar so it is easier to smooth.
The fabric should feel barely damp, not wet. If you have just washed the shirt, pressing while it retains a little moisture can be convenient. Keep any spray even: a soaked patch beside dry fabric makes it harder to judge when the collar is ready.
The simple collar-pressing sequence
1. Open the collar and smooth the underside
Lay the collar open on the board, with its underside facing upwards. Spread it out gently so you can see the full shape. Use your fingers to ease out small folds before bringing the iron down; avoid stretching the fabric or pulling the points out of shape.
Work from one point towards the centre using short, controlled strokes. Repeat from the other point towards the centre. This gives any small ripple somewhere to go, instead of chasing it into a pointed end and pressing in a wrinkle. Keep the iron moving and use only the heat the label permits.
2. Turn it over and press the visible side
Flip the collar so the side visible when worn faces upwards. Smooth it again, then repeat the movement from each point towards the middle. Use the iron’s tip to reach close to the stitching without repeatedly bearing down on the same area.
If the surface starts to look shiny, stop and reassess the temperature and need for a pressing cloth. Extra pressure will not improve the finish. On a textured shirt, use a light touch so the collar looks neat without flattening the character of the fabric.
3. Press the collar stand in sections
Open out the narrow band below the collar. Place a manageable section flat against the board, moving the shirt body out of the way. Press the band carefully, then reposition it to work around the neck. Do not try to squash the entire curved band flat in one go.
Pay particular attention to the front ends beside the top button and buttonhole. These areas help frame an open neckline, and a folded corner can make the whole collar sit unevenly. Work around buttons with the iron’s tip rather than pressing directly over them.
4. Finish pressing the rest of the shirt
If the sleeves and body still need attention, iron them before giving the collar its final shape. Otherwise, turning the shirt around the board can crush the curve you have just created. Lift and reposition the garment rather than dragging the finished collar underneath it.
Before taking the shirt off the board, check the collar for any little crease introduced while pressing the shoulders. Correct that section while the collar is open. There is no need to repeat the whole sequence if only one small patch needs attention.
5. Shape the collar and let it cool
Once the fabric is comfortable to handle, lift the shirt onto a hanger that supports its shoulders. Fasten the top button to bring the band into its natural rounded shape. Fold the collar down along its existing fold, guiding the points into an even position with your fingers.
Avoid ironing a hard crease around the entire folded collar. That can flatten the roll you want around the neck. Let the shirt hang until the collar is fully cool and dry before wearing it or putting it into a crowded wardrobe. Warm, damp fabric is easily creased again.
Use collar stays or starch when appropriate
If your shirt has pockets for removable collar stays, put the stays back once the collar has cooled. Choose ones that fit the pockets without forcing them. They support the points; they do not replace a properly pressed collar stand. Remove them again before the next wash and press.
For a crisper finish, a little laundry starch may help on a suitable washable shirt. Check both the garment label and the starch instructions first, including any restrictions for dark fabrics or particular fibres. Try it on a discreet area and begin lightly to avoid an obvious residue or overly rigid feel.
Starch is optional. A clean, carefully pressed collar often looks better with some natural movement, especially on an open-neck shirt. If the fabric becomes coated or patchy, wash it according to its care instructions before trying again.
Keep the shape when you get dressed
Put the shirt on only when the collar has cooled. If you are wearing it open, undo the top button and settle the band around your neck before adjusting the points. Start with one button undone and check the shape in a mirror; opening more buttons can let the front spread and reduce support.
With a jacket or knitwear, ease the collar into position after adding the outer layer. Check that one side has not become trapped underneath. For a button-down collar, refasten the point buttons once dressing is finished so the collar follows its intended shape.
If it still collapses, inspect the band for a missed crease and check whether the shirt fits comfortably around your neck. A very soft or worn collar may simply have limited structure. Keep the finish tidy and work with its natural drape: the most useful result is a collar that frames your face comfortably and holds a clean, balanced shape.