A tiny hole in a favourite jumper is easy to dismiss until it becomes a ladder of loose stitches. Knitted fabric is made from linked loops, so one broken strand can leave neighbouring loops free to unravel. Catching the damage early gives you a much smaller job and helps preserve the shape of the garment.
You do not need a basket full of specialist equipment to make a useful repair. Good light, a blunt needle and a little matching yarn will often do. The important part is working out whether you have a snag, a dropped stitch or an actual hole before you start pulling anything tight.
First, stop the damage spreading
Take the knitwear off and lay it flat on a clean table. Avoid stretching the damaged area to inspect it: that can release more loops. If you need to leave the repair until later, keep the jumper folded somewhere it will not catch on jewellery, zips or rough surfaces.
Look closely at the edges. Any open loops should be secured before you handle the fabric further. Pass a short length of smooth, contrasting sewing thread through each loose loop with a needle, leaving generous ends. Tie the thread ends together loosely so they cannot slip out. This temporary thread is a holder, not a stitch that should draw the edges together.
Check what you are actually mending
A pulled loop without a hole
A snag may look alarming while the yarn itself remains intact. You will usually see a long loop beside a patch of tightened stitches. Do not cut the loop. Using a blunt needle, gently ease a little yarn back along the neighbouring stitches, spreading the excess across the row. Work in tiny movements rather than tugging at the fabric.
If a small loop still protrudes, draw it through to the inside with a crochet hook or needle threader. Leave it relaxed. Knotting it tightly can create a hard bump and distort the front. Check that the surrounding fabric lies comfortably before putting the jumper away.
A ladder or a genuine hole
A dropped stitch often looks like a vertical gap crossed by horizontal strands, with a loose loop at its base. A hole caused by broken yarn may have several open loops, frayed ends or missing fabric. A ladder with intact strands can sometimes be rebuilt; a hole with missing yarn needs new thread or yarn to bridge it.
For a first repair, choose a small area on plain knit fabric. Very fine cashmere, complicated lace, multiple-colour patterns and damage beside a shaped seam can be harder to read. If the garment is precious or the hole keeps growing as you inspect it, secure the loops and take it to an experienced knitwear repairer.
Gather a few simple tools
- A blunt tapestry or darning needle that passes through the knit without forcing it.
- Matching yarn, preferably the spare length supplied with the garment.
- Small scissors for trimming the new yarn after the repair.
- Smooth contrasting thread to hold loose stitches temporarily.
- A small crochet hook if you need to pick up a ladder.
- A darning mushroom, or a smooth, rounded support such as a small bowl.
Match the thickness and feel of the original yarn as closely as you can. Bulky yarn makes a stiff patch in a fine jumper, while thin sewing thread alone may pull sharply against soft, chunky stitches. If an exact colour is unavailable, compare possible matches in daylight. Alternatively, choose a contrasting shade deliberately and make the mend a small visible detail.
Rebuild a simple dropped stitch
If the yarn is unbroken and the ladder is clearly visible, keep the top loops secured while you work from the bottom. On plain stocking stitch, place the knit side towards you: this is the side with little V-shaped stitches. Slip a crochet hook through the lowest loose loop.
Catch the horizontal strand immediately above that loop and pull it through to form a new loop. Repeat with the next strand up, taking them in order. Each strand becomes another stitch in the rebuilt column. Keep the loops similar in size to those beside them; pulling hard will leave a tight vertical line.
At the top, the recovered stitch still needs securing. Thread matching yarn through it and anchor that yarn into sound neighbouring stitches, following their paths for several stitches on the inside. Do not simply withdraw the hook and leave the loop loose. Remove the temporary holding thread only when every open loop is caught.
Darn a small hole with missing yarn
Set up without stretching
For a small hole where the original strand has broken, a woven darn is a practical beginner’s repair. It will have a slightly different texture from the surrounding knitting. Turn the garment inside out and place your rounded support beneath the hole. The fabric should rest at its normal size, not stretch tightly over the support.
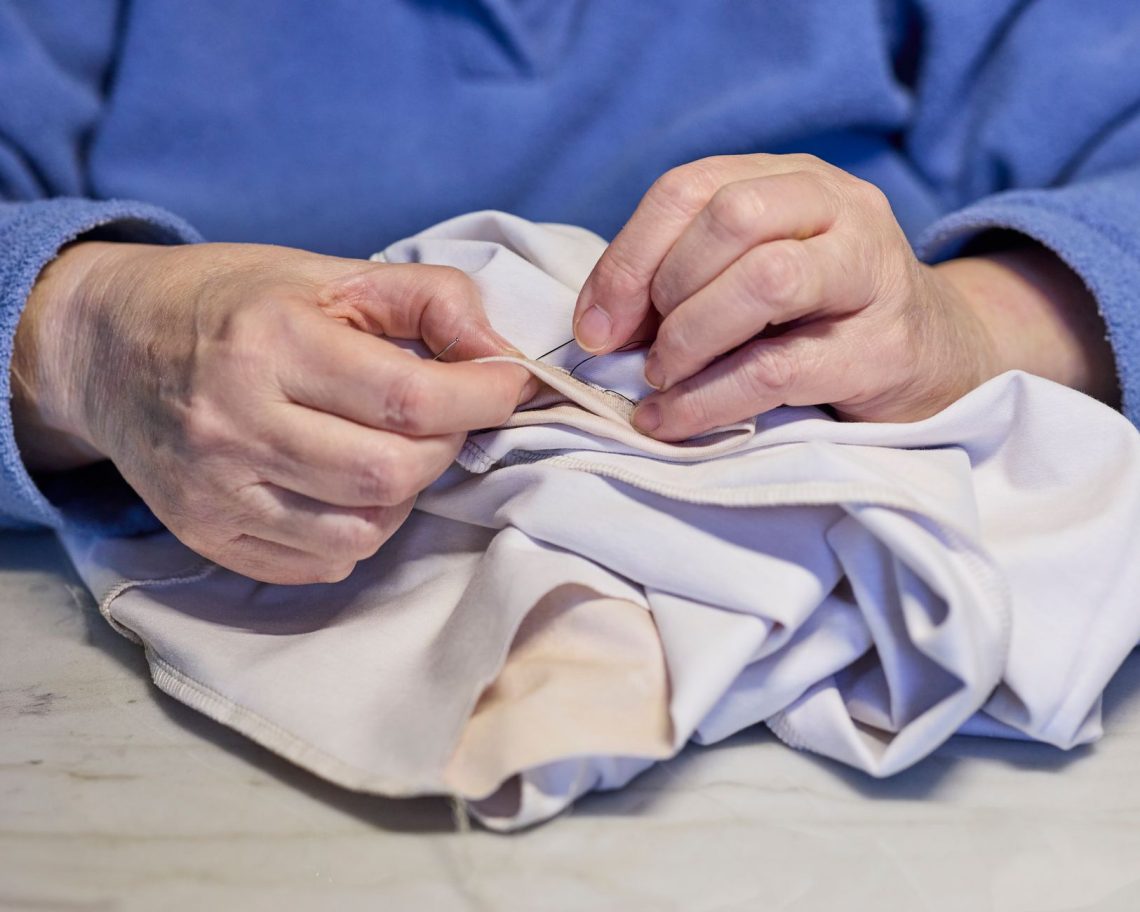
Thread the needle with a manageable length of yarn. Leave a tail long enough to weave in later rather than tying a bulky knot. Begin several sound stitches away from the damaged edge, passing the needle under the backs of a few stitches to anchor the yarn.
Build a supporting grid
Work parallel lines across the hole, travelling from sound fabric on one side to sound fabric on the other. Catch the secured open loops at the edges as you reach them, then continue a few stitches beyond the damage. Space the lines roughly in keeping with the original stitches. Leave a little ease at each turn so the mend can move.
Next, work across those lines in the other direction, weaving alternately over and under them. Reverse the sequence on the following pass, as you would when weaving a small piece of cloth. Anchor each pass in sound knitting around the hole. Aim for an even, flexible patch rather than a dense pad of yarn.
Check the front regularly. If the area puckers, ease the new strands before adding more. If an open loop has escaped the repair, catch it with the needle and incorporate it before continuing. Once the grid supports the whole damaged area and all loose loops are secure, remove the temporary thread carefully.
Finish gently and check the fit
Weave the yarn tails through several stitches on the inside, changing direction to help them stay put. Keep your needle within the repaired area where possible so a contrasting yarn does not show elsewhere. Trim excess tails only after checking that the ends are secure; do not cut them flush against the last stitch.
Lift the fabric off its support and smooth it with your hands. Give it a gentle stretch comparable to normal wear, watching for tightness or an unsecured edge. Follow the garment’s care label if it needs washing, then reshape and dry as directed. Avoid pressing a hot iron directly onto the mend.
Make the next snag easier to catch
Check cuffs, elbows and underarms when you fold your knitwear, especially where bags or jewellery rub. Keep any spare yarn in a labelled envelope and store knits folded away from things that catch. A few minutes spent securing one loose loop can save a much larger repair, and a neat little darn can become an unobtrusive part of a well-loved jumper.