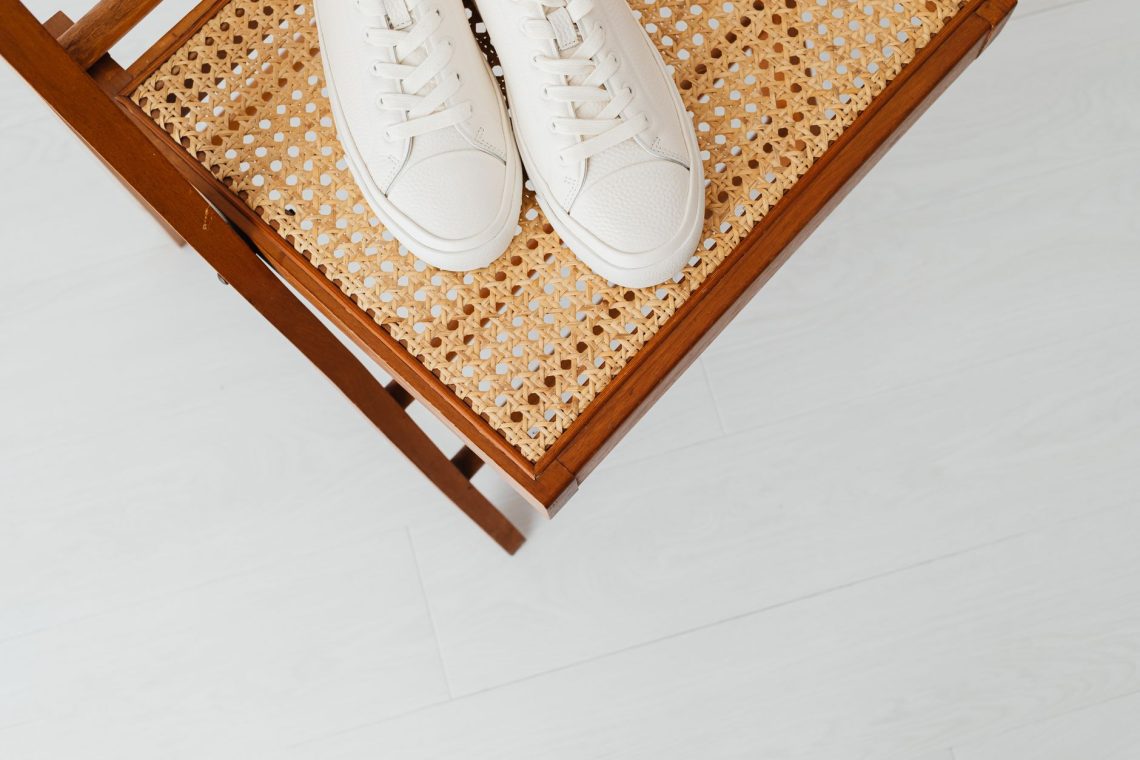
A white trainer midsole can make an everyday outfit feel crisp, even when the rest of the shoe has softened with wear. It is also the part that seems to collect a grey film almost immediately. Pavement dust, splashed water and contact with the opposite shoe all leave their mark on that pale strip between the upper and the tread.
The temptation is to scrub harder each time. A better approach is to remove dirt regularly, use very little cleaner and recognise when the colour change is no longer something you can wash away. The aim is a tidy pair of trainers that still looks good with your clothes, rather than a spotless finish achieved at the expense of the surface.
Check which part you are cleaning
The midsole is the section between the upper and the outsole, although a visible white sidewall may include more than one material. Some trainers have exposed foam; others have a rubber edge, a painted finish or a combination. Similar-looking white surfaces do not necessarily respond well to the same treatment.
Check the care instructions for your pair before reaching for a cleaner. If you cannot identify the material, start with the gentlest option: a soft cloth barely dampened with water. Avoid assuming that a method suited to a sturdy rubber sidewall will also suit soft foam or a coated edge.
Look closely at the grey area in good light. Loose dust, a dark transfer mark and an uneven patch beneath the finish are different problems. Identifying what you can see helps prevent a small scuff turning into a much larger dull patch.
Make a quick wipe your usual habit
You do not need a full shoe-cleaning session after every outing. When trainers look dusty, let wet mud dry first, then brush away loose material gently. Use a separate soft brush or cloth for the midsole so that grit from the tread is not dragged across the white edge.
For ordinary surface dirt, wipe along the sidewall with a clean, lightly damp cloth. Fold it frequently to expose a fresh section. A cloth that has already turned grey can spread dirty water across an area you have just cleaned.
Pay particular attention to the inner edges, where your shoes may brush together, and the heel, where pavement splashes tend to show. A brief clean while the marks are still superficial is easier to manage than repeatedly attacking an accumulated dark band.
Use a gentle cleaning sequence
When water alone is not enough, work through a simple routine. Keep the upper as dry as possible, especially if it is suede, nubuck or another material with its own care requirements. Place the shoe on an old towel and work on one small section at a time.
- Remove loose grit. Check the join between the upper and the sole, using a soft brush with light strokes. Do not dig into seams.
- Prepare a mild solution. If the care instructions allow it, mix a small amount of mild soap into lukewarm water. You need a lightly soapy solution, not a thick coating of foam.
- Try a discreet patch. Use an inner heel area first, then wipe away the cleaner and let the patch dry. Check for colour transfer, tackiness or a change in sheen.
- Clean with light pressure. Use a soft cloth first. If necessary and suitable for the material, try a soft-bristled brush with short, gentle strokes.
- Remove the residue. Wipe with a separate cloth dampened with clean water, refreshing it as needed. Avoid soaking the shoe.
- Let it dry naturally. Leave the trainers somewhere ventilated, away from radiators and direct heat. Assess the result once the surface is dry.
Using more soap does not necessarily give a better result. It creates more residue to remove, and a leftover film can make the edge look streaky. If the surface feels slippery after wiping, concentrate on removing the cleaner before doing anything else.
Treat scuffs without spreading them
A grey streak caused by contact with another surface may need more attention than general dust. Start at the edge of the mark with your damp cloth and work in a small area. Check the cloth after a few passes: visible transfer suggests you are lifting something from the surface.
If nothing transfers and the mark does not change, extra force is unlikely to be a useful next step. Pause, let the area dry and inspect it again. What looked like a removable streak may be a scratch, exposed material or discolouration within the finish.
Be cautious with abrasive cleaning sponges, stiff brushes and gritty pastes. They can alter the texture or sheen of some surfaces, particularly painted finishes. Household bleach, strong solvents and nail varnish remover are poor choices for an unidentified midsole material. Do not combine cleaning products or improvise a stronger mixture.
Know when to stop scrubbing
Stop when the surface starts changing instead of the mark. A patch becoming rougher, shinier, sticky or visibly thinner is a reason to put the brush down. White colour appearing on your cloth may indicate that you are removing a finish, rather than simply lifting dirt.
Also stop if you notice flaking, a widening scratch or a gap at the edge of the sole. Cleaning cannot repair those problems. Keep water away from an opening and consider asking a shoe repairer whether the damage is repairable.
Set a sensible limit for a stubborn patch: one gentle clean, a thorough wipe to remove residue, then time to dry. If it still looks grey, assess it in daylight before deciding whether another treatment is worthwhile. Repeating the same unsuccessful method with more pressure usually adds wear without resolving the cause.
A clean midsole can still have permanent marks. Accepting a faint scuff is often the better styling decision than leaving a conspicuous scrubbed patch with a different texture from the rest of the shoe.
Reduce the build-up between cleans
Let trainers dry before putting them away, and avoid leaving them pressed against dirty footwear. Store pale pairs where the sidewalls are not rubbing against dark soles or dusty shelves. If you use shoe bags, make sure both the bags and the trainers are clean and dry.
Keep a cloth reserved for white edges, and wash it regularly. A brush used on muddy outsoles needs cleaning before it goes anywhere near a pale sidewall. These small habits help you avoid putting yesterday’s dirt back onto today’s shoes.
Choose your pair to suit the day, too. For a muddy walk or a wet commute, a darker sole may be easier to live with. Save the brightest white trainers for occasions when their clean outline adds something to the outfit, whether that is straight-leg jeans, tailored trousers or a relaxed midi skirt.
Keep the whole shoe looking considered
A midsole rarely needs to look brand new for trainers to look well cared for. Clean laces, a brushed upper where appropriate and an even finish around both shoes make a bigger visual difference than obsessing over one tiny mark. Follow the separate care guidance for each part.
Before getting dressed, look at the pair together from standing height. If the edges look reasonably even and there is no loose dirt, they are probably ready to wear. Gentle maintenance, complete drying and a willingness to leave a stubborn scuff alone will keep the routine practical. The best stopping point is a clean, intact surface, even if its white is no longer perfect.