A fuzzy line around a trouser hem is easy to overlook until a thread catches under your heel. By then, the edge may already be thinning. The most useful time to act is when you first notice loose stitching, a shiny patch or a small tuft of fibres, while there is still sound fabric to work with.
Keeping hems tidy starts with finding out what is wearing them down. Trousers that drag need a different fix from a neatly fitted pair with an unravelled seam. Here is how to spot the difference, make a simple repair and prevent the same damage returning.
Check the hem before cutting anything
Turn the trousers inside out and inspect both legs in good light. Lay each hem flat, then look at the outside edge, the folded underside and the stitching that holds the fold in place. Compare the front with the back: damage concentrated behind the heel usually points to contact with the ground or shoes.
Look for these early warning signs:
- Loose loops or missing stitches: the hem may be coming undone while the fabric itself remains intact.
- A fluffy or pale strip along the fold: friction is wearing through the surface fibres.
- A ragged raw edge inside: the seam allowance may need its edge secured.
- A split at a side seam: a snag or strain may have opened a small weak point.
- Dirt marks around the back: the hem may be brushing the pavement even if it looks fine when you stand still.
Do not pull a dangling thread to see where it ends. It may be part of the stitching holding the hem together. First establish whether it comes from the seam or the cloth.
Sort out the length first
No repair will last well if you keep walking on it. Try the trousers on with the shoes you actually wear with them, fasten the waistband and walk a few steps. Check in a mirror or ask someone to look from behind. A hem can clear the floor at the front yet tuck under the heel at the back.
Wide legs and soft, fluid fabrics need particular attention because the cloth moves around your shoes. A deliberate puddled silhouette means accepting more contact and wear; for everyday longevity, aim for clearance while walking. If you alternate between flats and heels, choose a practical length for the lower shoes or reserve the trousers for one shoe height.
Mark a proposed length with pins while wearing the trousers, then remove them before sewing. Check both legs rather than assuming they need identical adjustments. For an expensive pair, a lining or a substantial alteration, a tailor can assess the length and preserve the intended shape.
Repair loose stitching while the cloth is sound
If the fold is intact and only the stitches have failed, you may not need to shorten anything. Gather matching thread, a suitable hand-sewing needle, small scissors and pins. Follow the care label before pressing; use a pressing cloth where appropriate and test the heat on an inconspicuous area.
- Secure the existing stitches. Fasten any loose ends so the remaining seam cannot continue to unravel. Remove detached thread carefully, without cutting into the fabric.
- Restore the fold. Use the original crease as a guide, checking that the hem sits evenly. Pin it without stretching the trouser leg.
- Sew with small, relaxed stitches. For a discreet finish, work a slip stitch between the folded hem and the inside of the leg, catching only a little of the outer fabric each time.
- Finish and inspect. Secure the thread, remove the pins and check the outside for puckering. The stitching should hold the fold without pulling it tight.
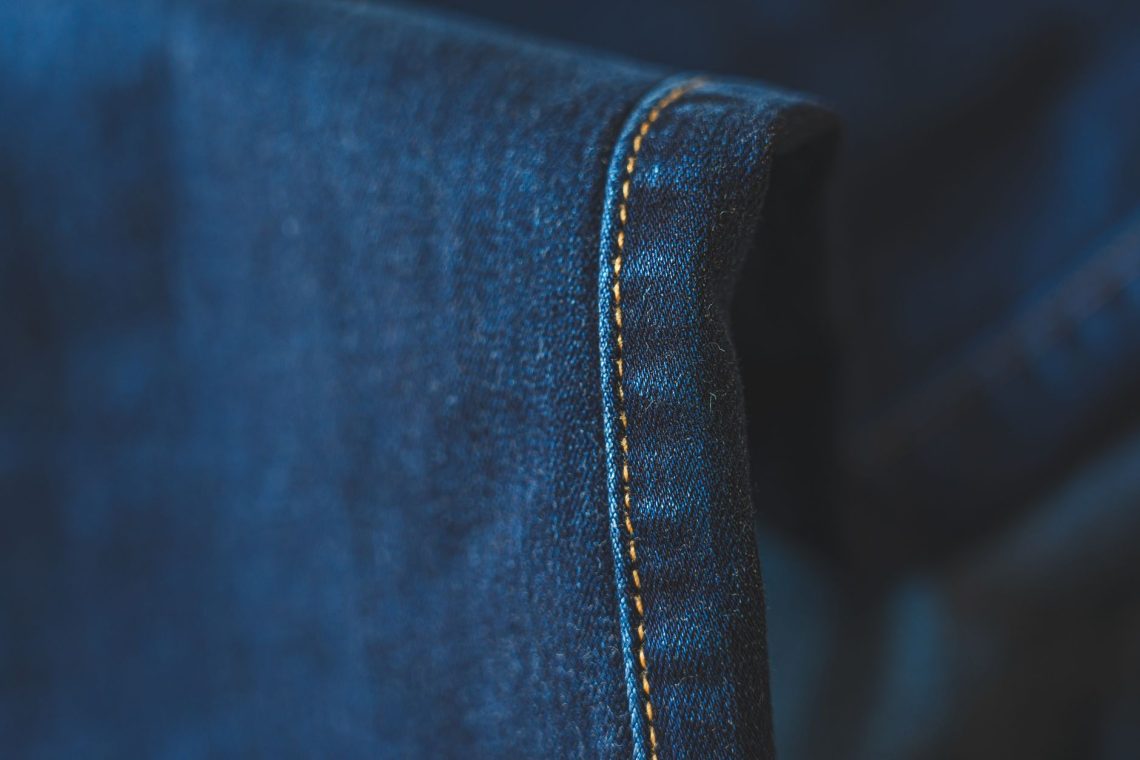
On jeans or casual trousers with visible topstitching, matching the original machine-sewn finish may look more consistent. Practise on a scrap if you have one, and use a needle suited to the fabric. Do not force thick folded seams through a machine that is struggling.
Secure an unravelled inside edge
Sometimes the outside looks perfectly tidy, but the raw edge inside is shedding threads. This needs an edge finish, rather than extra stitches through the whole hem. Carefully open only as much of the hem as necessary to reach the affected section.
A machine zigzag or overlocked finish can contain the raw edge. By hand, small overcast stitches around the edge are an option for a modest repair. Keep the tension gentle, particularly on loosely woven cloth, so the finish does not curl or gather.
Trim only loose wisps once you have identified them. Cutting away a wide strip of fraying fabric can leave too little allowance to rebuild the hem. If the edge has already unravelled close to the fold, ask a tailor whether binding the edge or adding a facing would preserve enough length.
Deal with wear along the bottom fold
A worn fold is different from an unfinished edge. The fabric has become weak at the point that takes the rubbing, so stitching over it alone will not restore its strength. If there is enough length available, moving the fold above the damaged strip can give you a fresh edge.
Unpick the hem carefully and assess the cloth before trimming. A small adjustment may remove the worn section, but it can also leave the trousers noticeably shorter. Pin and try them on again before making an irreversible cut. Remember that the new hem still needs a suitable allowance.
If shortening would spoil the fit, a tailor may be able to use a separate facing inside the hem. This can help retain length, although it cannot make badly abraded outer fabric look new. On tailored trousers, ask whether protective trouser tape would suit the construction. It can take some rubbing at the inside edge, but it will not compensate for a hem that drags.
Use quick fixes selectively
Iron-on hemming tape can hold a clean fold on compatible fabrics, but check both the tape instructions and the garment care label. Heat-sensitive fabric, textured cloth and delicate finishes may be unsuitable. Test first: adhesive can change how a lightweight hem hangs or leave a visible mark.
Hemming tape does not replace fabric that has worn away. Likewise, a liquid fray sealant is intended for suitable raw edges, not as a general coating for the outside of trousers. It may stiffen or discolour some fabrics. For a temporary fallen hem, a few hand stitches are often easier to remove cleanly when you arrange a fuller repair.
Reduce the friction between wears
Check your footwear as well as your trousers. A rough buckle, damaged heel edge or hook fastening can repeatedly catch the same patch. Remove trapped grit from turn-ups and avoid leaving damp, dirty hems folded against themselves. Follow the garment’s cleaning instructions rather than scrubbing a fragile edge.
Before washing, check for loose stitches and fasten any closures that could snag fabric. Use the recommended cycle and avoid crowding the drum. After cleaning, gently straighten the hems and let them dry fully before pressing or putting the trousers away.
Make a quick hem check part of putting favourite trousers back in the wardrobe. Catching a few failed stitches gives you a straightforward repair; waiting until the fold has rubbed through leaves fewer options. The aim is a secure edge, a length that works with your shoes and enough attention to catch small problems early.