A metal button can be a lovely finishing touch on a cardigan, yet an awkward companion for a fine knit. Its weight may drag the fabric down, its rim may catch a loop, or the fastening may pull the front into little rays. A trouser button can cause a similar problem when a soft jumper rests against it.
The useful fix depends on what is pulling. Before adding a guard or reaching for a needle, work out whether you are dealing with a rough surface, a heavy button or tension across the garment. Then choose the smallest change that lets the knit sit naturally.
Find the point of contact first
Lay the garment flat on a clean surface without stretching it. Look at the area around the button and, if relevant, the section that sits over your waistband. A hanging dip beneath a button suggests weight; diagonal lines towards a fastening suggest tension. A single raised loop is more likely to indicate catching.
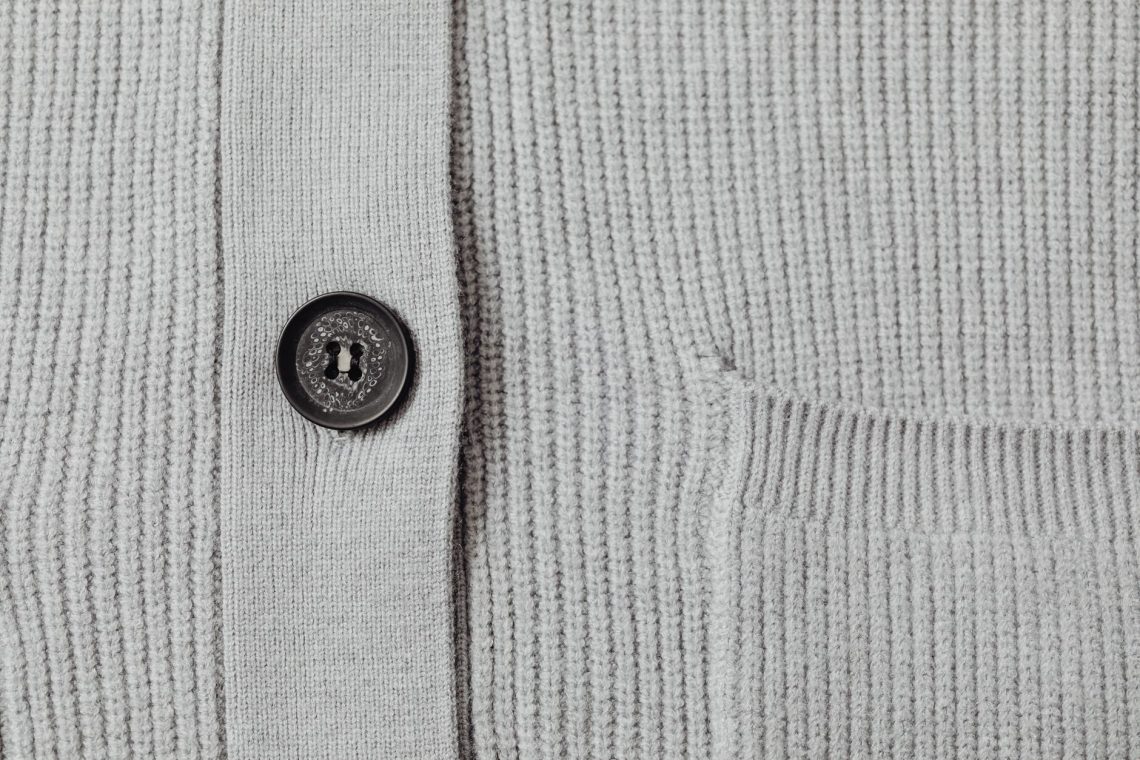
Run a fingertip gently around the button edge, underside and attachment. Look for a rough casting seam, an exposed thread end or a gap where yarn could lodge. Do not drag the button over the knit to recreate a snag. If the metal feels sharp or damaged, replacing it is more sensible than covering it and hoping.
Try the outfit on and move normally: sit down, reach forward and bend at the waist. Notice whether the knit catches only when tucked in, under a belt or beneath a bag strap. Sometimes changing that contact point solves the problem without altering either garment.
Use a guard for rubbing, not for strain
A guard creates a smooth barrier between metal and yarn. It can help when the button on trousers or a skirt rubs against the inside of a jumper. It cannot make an overly tight cardigan fit comfortably, and it will not remove the weight of a heavy button sewn directly to delicate fabric.
Start with a removable layer
A smooth camisole or vest tucked over the waistband can keep the knit away from the metal. Make sure the layer actually covers the button when you sit, rather than riding above it. This is an easy option when you want to wear the same jumper with several different bottoms.
You can also leave the jumper untucked so it falls loosely over the waistband. Avoid stretching its hem tightly across the button. If you prefer a partial tuck, place it beside the fastening, checking that the loose section does not bunch against the metal.
Choose a cover that stays smooth
A purpose-made button cover may help if it fits securely and has no exposed clips, ridges or rough edges. Check the back as carefully as the front. A cover that adds a bulky lip can create a fresh catching point, particularly beneath a close-fitting knit.
For a sewn fabric guard inside a waistband, use a soft, smooth fabric with enclosed edges. The guard should lie between the closed button and the jumper without obstructing the fastening. Have it attached to the waistband construction, rather than to the fine knit. A dressmaker can assess where it will sit securely.
Avoid sticking tape, adhesive pads or glued-on felt directly to delicate yarn. Removing them can lift fibres or distort the surface. Loose scraps tucked around a button are also awkward: they can shift as you move and leave the metal exposed again.
Support a button sewn onto the knit
If the problem is on the cardigan itself, inspect its button band. A metal button should sit on a suitably supported section, rather than hang from a few stretched loops. A loose attachment may need attention, but simply pulling the sewing thread tighter can pucker the fabric.
For a garment you are comfortable repairing, work with the band resting flat and unstretched. Use a fine hand-sewing needle and suitable sewing thread, taking care to pass between yarns where possible. Follow the existing attachment position unless there is a clear reason to change it.
A small, smooth backing button on the inside can spread the attachment across a wider area. However, it also adds weight and bulk. On very sheer or light knitwear, a discreet piece of soft woven backing may suit better, provided its edges are finished and it does not show through. Neither approach is a cure for a button that is simply too heavy.
Leave enough clearance for the buttonhole band to sit comfortably beneath the button when fastened. Sewing a button hard against the fabric can pinch the layers together. Buttons with an integral metal shank need particular care: check that the shank is smooth and that the button does not tip forward under its own weight.
Check placement before moving a fastening
A button positioned away from the supported band can tug on softer fabric. Equally, moving it towards an edge to gain room may make the edge roll. Before changing anything, align the cardigan fronts as they were intended to overlap and check how each button meets its buttonhole.
Try the cardigan over the layer you usually wear underneath. If the fronts meet easily while standing but strain when seated, the issue may be fit through the body. Moving a single button can introduce an uneven overlap without creating enough room where you need it.
- Keep the original alignment: use the existing buttonholes as your guide and avoid stretching the band to reach them.
- Check the whole front: a change at one fastening can affect the neckline, hem and buttons above and below it.
- Keep weight on supported fabric: do not relocate a heavy button onto the main knitted panel.
- Get help with fragile yarn: a knitwear repairer can assess reinforcement without leaving a conspicuous patch.
If the cardigan looks relaxed worn open, that may be the simplest styling choice. Wear a smooth top underneath and let the fronts hang freely. Check that the buttons do not knock against a belt buckle or catch a loosely woven scarf.
Swap the metal for a lighter alternative
When weight is the problem, replacement often makes more sense than extra reinforcement. Consider a lightweight resin, plastic or fabric-covered button with a smooth finish. Check its underside too: an attractive face does not guarantee that the attachment will be kind to fine yarn.
Match the original diameter and choose a thickness that passes comfortably through the existing buttonhole. A smaller button may slip out; a thicker one may stretch the opening. Compare one replacement with the garment before changing the full set, and keep the originals together in case you want to restore them.
Hidden press studs are another possibility, but they need support and can pull at delicate fabric when opened. They are best considered as a planned alteration. A brooch or decorative pin can introduce similar weight and snagging problems, so it is rarely a straightforward substitute.
Deal gently with an existing snag
If a loop has already been pulled, take the garment off and lay it flat. Do not cut the loop or pull hard on the surrounding fabric. A broken yarn can turn a small snag into a hole, and vigorous stretching may leave a wider distorted patch.
For a conspicuous loop, a ladder or an attachment point with thinning yarn, use a knitwear repairer. Resolve the offending button before wearing the garment again. Once the surface is smooth, the fastening sits comfortably and the knit falls without tension, check the outfit seated as well as standing. That final movement check is often what separates a temporary disguise from a useful fix.