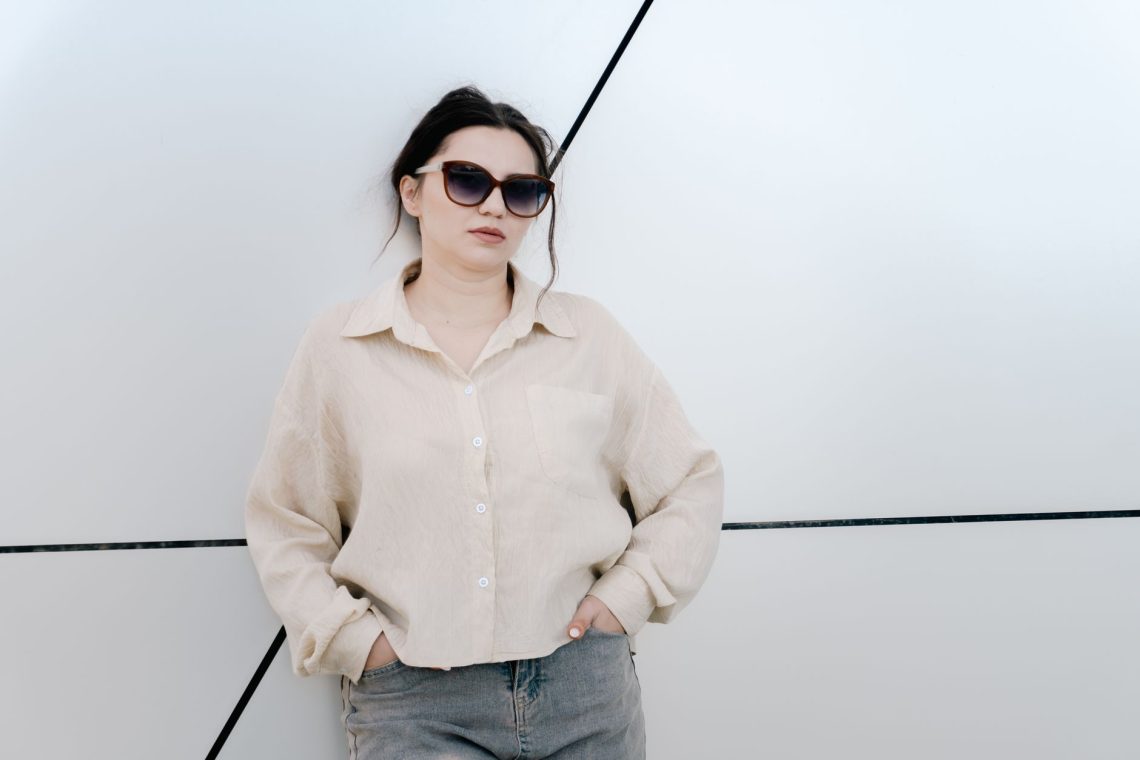
An oversized shirt can feel wonderfully easy until you catch sight of a disappearing waist, sleeves covering your hands and a hem that seems to take over the outfit. On a smaller frame, a little adjustment often makes the difference between relaxed and overwhelmed. You do not need to make the whole shirt fitted: you need a few clear points where its volume stops.
Start with three places you can control: the waistband, the cuffs and the neckline. A tuck gives the shirt an anchor, a sleeve adjustment reveals your wrists, and an open collar creates breathing room around your face. From there, choose how much looseness you want to keep. The aim is an outfit that feels comfortable and intentional, with enough shape to let you move freely.
Check the shirt before you start styling
Smaller frames vary, so judge the shirt on your own proportions rather than its size label. A dropped shoulder can look lovely, but check whether the sleeve still bends comfortably at your elbow. If the fabric bunches heavily under your arms or the collar slides backwards whenever you move, try a different cut. Styling cannot always solve excess fabric in the wrong places.
Fabric matters as much as width. Soft cotton, fluid linen and lighter blends tend to fold into a waistband more easily than thick, rigid cloth. A crisp shirt can still work, especially worn open, but it will hold its shape away from the body. Before deciding, sit down, reach forwards and try your usual coat over it.
Use a small front tuck to show the waistband
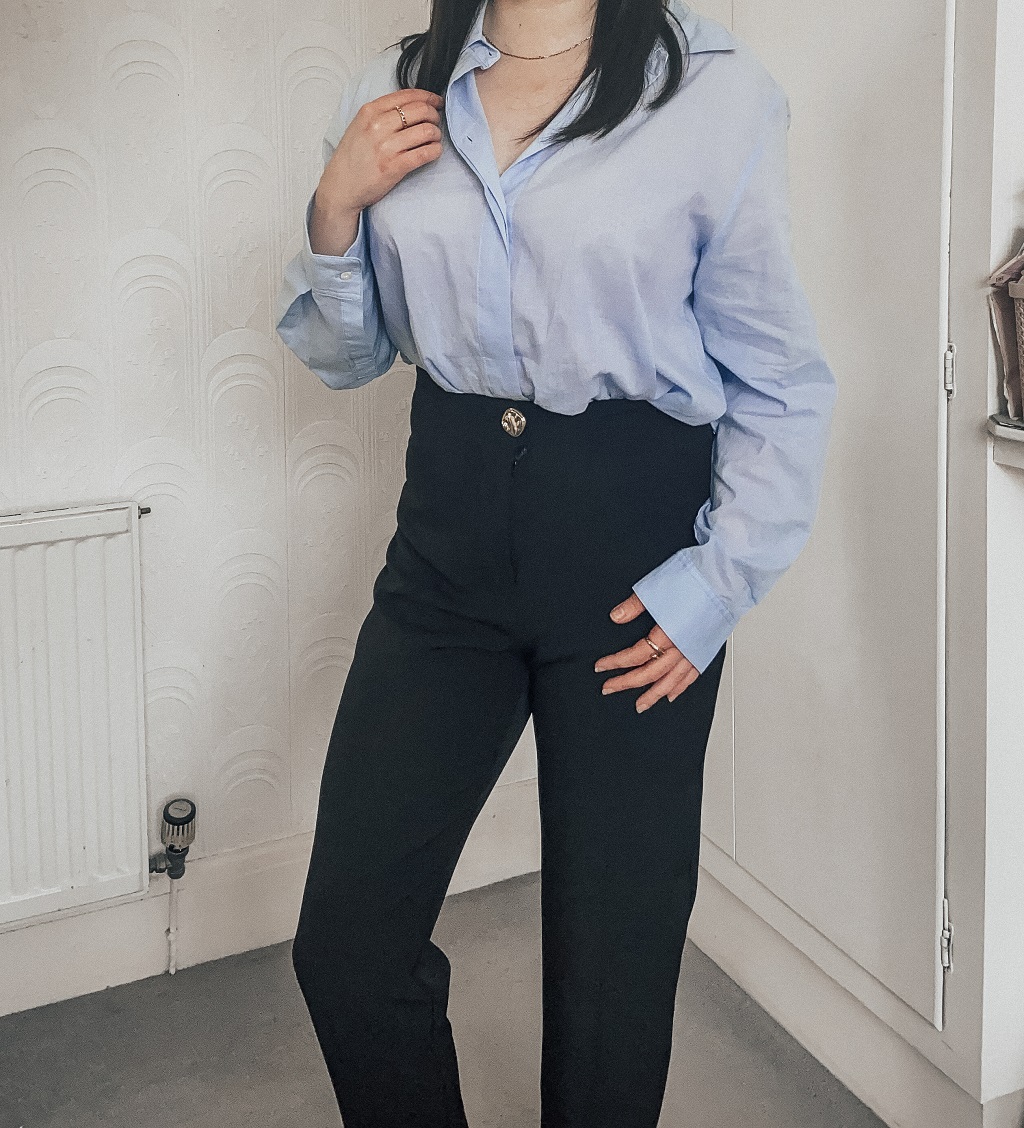
A front tuck is a useful starting point because it creates shape without removing the shirt’s relaxed feel. Put on your trousers or skirt first, then tuck a small section of the shirt into the centre front of the waistband. Leave the sides and back loose. Gently pull a little fabric back out so it falls softly rather than stretching tightly across your stomach.
Look at the transition between the tucked and untucked sections. If the hem forms two stiff wings at your hips, narrow the tuck or ease the neighbouring fabric towards it. You want a gradual drape. A higher waistband can make this easier, but use the rise that feels comfortable on you; there is no need to force your trousers higher just to accommodate the shirt.
Try a side tuck when the centre feels bulky
Tuck a small section slightly to one side, above a front pocket, and let the remaining hem fall diagonally. This works particularly well when a central tuck creates too much fabric around the fastening. Keep the adjustment subtle. If the shirt twists across your chest or pulls at its buttons, release some fabric and make the tucked section smaller.
Choose a full tuck for a clearer outline
A full tuck suits outfits where you want the waistband to remain visible all the way around, such as a shirt with tailored trousers or an A-line skirt. Fasten the shirt, smooth the hem down and tuck it in evenly. Lift your arms briefly, then settle the fabric so there is enough ease to sit and reach without pulling.
If you have a bulky ridge underneath, avoid repeatedly folding the hem into a thick band. Spread the fabric flat around your hips instead. Some shirts are simply too long or substantial for a comfortable full tuck. In that case, switch to a partial tuck or wear the shirt open. A smooth outline should not come at the expense of comfort.
Make sleeve length work for you
Long sleeves can make an oversized shirt feel much bigger than it is. Showing your wrists gives the fabric a visible finishing point and keeps your hands free. Unbutton the cuffs, fold each one back, then make another fold if needed. Stop below the elbow for a relaxed look, checking that you can bend your arms without the roll feeling tight.
For a neater finish, make broad, flat folds rather than scrunching the sleeve into a narrow rope. You can also turn the cuff back once and push the sleeve slightly upwards, although slippery fabrics may not stay put. Do not depend on a sleeve arrangement that needs constant attention. If the cuffs repeatedly fall over your hands, shortening the sleeves may be the more useful solution.
Wear it open over a simple base
An oversized shirt makes an easy light layer over a vest, camisole or fitted T-shirt. Choose a base that sits comfortably close to your body, then leave the shirt unbuttoned. The open edges let the shape underneath remain visible. You can keep the base tucked in to show where your legs begin, while the shirt supplies the movement and coverage.
Watch where the outer hem lands. If it finishes at an awkward point on your thighs, try a shorter shirt or change the bottom half before abandoning the idea. An open shirt with straight-leg jeans often feels easy to balance. With wider trousers, a clearly visible waistband and rolled sleeves can give the outfit enough definition without needing a tight base layer.
Layer over the shirt without trapping the volume
A knitted vest can bring an oversized shirt closer to the body while leaving its collar, sleeves and hem visible. Check that the vest has enough room at the armholes: fabric packed underneath can feel uncomfortable and look lumpy. A vest ending near your waistband often provides a useful break, especially if the shirt extends only a little beneath it.
When adding a jacket, try the whole outfit together. A narrow blazer sleeve may drag against a loose shirt sleeve, while a roomier jacket can sit more comfortably. Smooth the shirt down before putting the jacket on, then check the back and underarms. If several hems compete, tuck the shirt or simplify one layer so the outline feels deliberate.
Balance the bottom half, rather than always choosing skinny
You do not have to pair every large shirt with narrow trousers. Straight jeans, tapered trousers and gently flared styles can all work. What matters is where you create definition. If both halves are loose, show the waistband with a tuck, expose your wrists or keep the shirt open over a tucked base. Start with one adjustment and assess the result.
Skirts need the same attention to where the shirt ends. A loose hem can conceal the shape of a skirt completely, so try a full or side tuck first. With a fuller skirt, choose a shirt fabric that compresses comfortably at the waist. With a straighter skirt, a small front tuck can leave enough drape for sitting and walking.
Finish with a quick movement check
Before leaving, check the outfit from the side as well as the front. Sit down, raise your arms and walk a few steps. The shirt should stay comfortable without constant rearranging. A belt can emphasise the waist, but add it only if you like the effect; careful tucking may already give you all the shape you want.
- If the shirt looks too long: try a small front tuck before changing the whole outfit.
- If the upper half feels heavy: roll the sleeves and loosen the collar slightly.
- If the waist feels bulky: reduce the tucked section or wear the shirt open.
- If every adjustment slips: consider a different fabric, cut or sleeve alteration.
Keep the parts of the oversized shape you enjoy, whether that is a roomy back, a long hem or generous sleeves. A visible waistband or a neatly turned cuff may be enough to make the proportions feel right. Once you find an arrangement that stays comfortable through the day, let the shirt look relaxed.