A face roller or gua sha tool can make a simple skincare routine feel more leisurely. The cool surface, slow movements and few quiet minutes may be what you enjoy most. There is no need to turn that small pleasure into a complicated treatment, press hard or chase a dramatic change in the mirror.
The sensible approach is to treat either tool as an optional accessory: keep it clean, use it gently and stop if your skin feels uncomfortable. Your hands are also perfectly adequate for applying skincare. If you like using a tool, here is how to make the experience comfortable without giving it more work to do than it can reasonably manage.
Choose the tool you will find easiest to handle
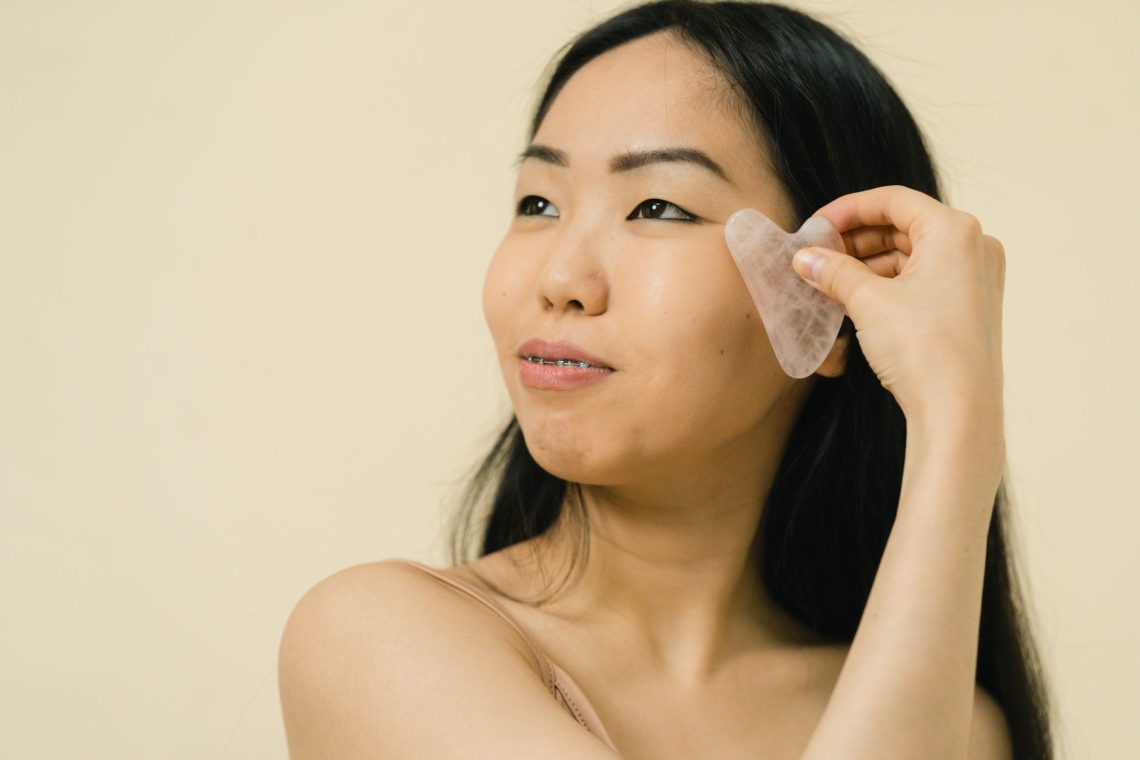
A face roller has a rotating head that travels across the skin. Some have a smaller head at the opposite end, although you do not have to use every part. A gua sha tool is usually a flat piece with curved edges, held against the face and moved by hand. For this guide, think of it as a gentle facial massage accessory, rather than a scraping treatment.
Choose by feel and practicality, rather than promises attached to a particular stone. Look for a smooth surface, comfortable grip and an edge without chips or rough patches. A roller should turn freely without catching. With either style, consider how easily you can wash and dry it, including around any fittings.
An elaborate shape is unnecessary. If you already own a tool that feels awkward, you need not master every notch and curve. Use only the smooth section you can control comfortably.
Start with clean skin and clean equipment
Wash your hands, cleanse your face as you normally would and clean the tool before it touches your skin. Using a roller over leftover make-up is an easy way to turn a relaxing step into a messy one. Keep your hair away from your face so that you are not repeatedly moving it aside with slippery fingers.
Read the care instructions supplied with your tool. Materials and fittings vary, so a method suitable for one may damage another. Where the instructions permit it, wash with lukewarm water and a little mild soap, rinse thoroughly and dry with a clean, soft cloth. Do not assume that a quick wipe on yesterday’s towel counts as cleaning.
Check the surface each time. If you spot a crack, a chip or a loose part, put the tool aside. A damaged edge has no place in a routine built around comfort.
Give the tool enough slip
Apply a small amount of a moisturiser, facial oil or other leave-on product you already know suits your skin. The aim is a light glide, not a thick coating. There is no need to buy a special serum simply because you have bought a tool.
Begin with a little product and see how the tool moves. If it drags, pause and add a touch more, or finish the session. Do not compensate by pushing harder. Equally, if everything feels so slippery that you cannot hold the tool securely, remove the excess from your hands.
Keep this routine straightforward. A familiar, comfortable product makes more sense than combining a new tool with several unfamiliar formulas. Avoid using the massage step to work in a product that already stings or leaves your skin feeling tender.
Settle into a gentle technique
Sit somewhere with good light and a mirror, with your shoulders relaxed. Hold the tool loosely enough that your hand is not clenched. Think of a light sweep across the surface, rather than an attempt to shift or reshape anything beneath it.
Pressure should remain light. Your skin should not bunch up ahead of the tool, and you should not need to brace yourself for a stroke. More pressure is not a shortcut to a better experience. Redness, soreness or visible marks are not goals.
Using a face roller
- Place the roller gently on one cheek, away from the eye itself.
- Roll slowly outwards towards the side of the face, using a short, comfortable movement.
- Lift it off and reposition it rather than repeatedly rolling back and forth over the same patch.
- Repeat on the other cheek, then use similarly light movements across the forehead if that feels pleasant.
You can leave it there. There is no compulsory route around every contour. Be particularly restrained near the eyes: keep off the eyelids and do not press towards the eyeball. Skipping the eye area altogether is a sensible option.
Using a gua sha tool
- Choose a broad, smooth edge and hold the tool almost flat against the cheek, rather than upright like a blade.
- Let it glide slowly outwards over a small area, with very little pressure.
- Lift and reset between strokes. Use your free hand to steady the skin lightly if needed, without pulling it taut.
- Move to the other side and, if comfortable, the forehead. Avoid digging a notch into the jaw or pressing into the temples.
A few easy passes are enough to discover whether you enjoy it. You do not need a fixed stroke count, a long session or a particular direction to fulfil a sculpting promise. Keep the purpose modest: a pleasant addition to your skincare routine.
Let comfort decide when to stop
Start with a minute or two, rather than trying to fill a lengthy tutorial. There is no requirement to use a tool daily. If it becomes another chore, put it away and apply your moisturiser with your hands.
Stop straight away if you notice stinging, pain, uncomfortable heat or tugging. Do not keep going to complete the other side. Leave skin alone when it is irritated, sunburnt, broken or sore, and avoid passing the tool over spots or inflamed patches.
If your skin is easily irritated, or you have had a recent facial procedure, ask the practitioner responsible for your care before adding massage. A beauty accessory should fit around your skin’s needs, rather than dictate them.
Keep cooling simple
Many tools feel cool at room temperature, which may be quite enough. If the maker allows refrigerator storage and you enjoy a cooler touch, place the clean, dry tool in a clean container. Keep it separate from food spills and packaging.
Avoid the freezer and extremes of temperature. Test the surface briefly against your hand before bringing it to your face, and let it warm up if it feels uncomfortably cold. You are looking for a pleasant sensation, not a challenge to endure.
Clean, dry and store it after every session
Remove skincare residue promptly, following the manufacturer’s cleaning directions. Pay attention to the underside of a flat tool and the areas beside a roller’s head, where product can collect. Avoid soaking a tool with fittings unless its instructions specifically allow it.
Let it dry fully before putting it in a pouch or closed box. Store it somewhere protected from knocks, rather than loose in a crowded make-up bag. Keep it for your own use, and resist setting it directly on a bathroom counter between strokes; a clean dish is more convenient.
The most useful measure of this ritual is how comfortably it fits into your evening. Clean equipment, a familiar product and a light hand are enough. Enjoy the quiet few minutes if they appeal, and feel equally free to skip them.