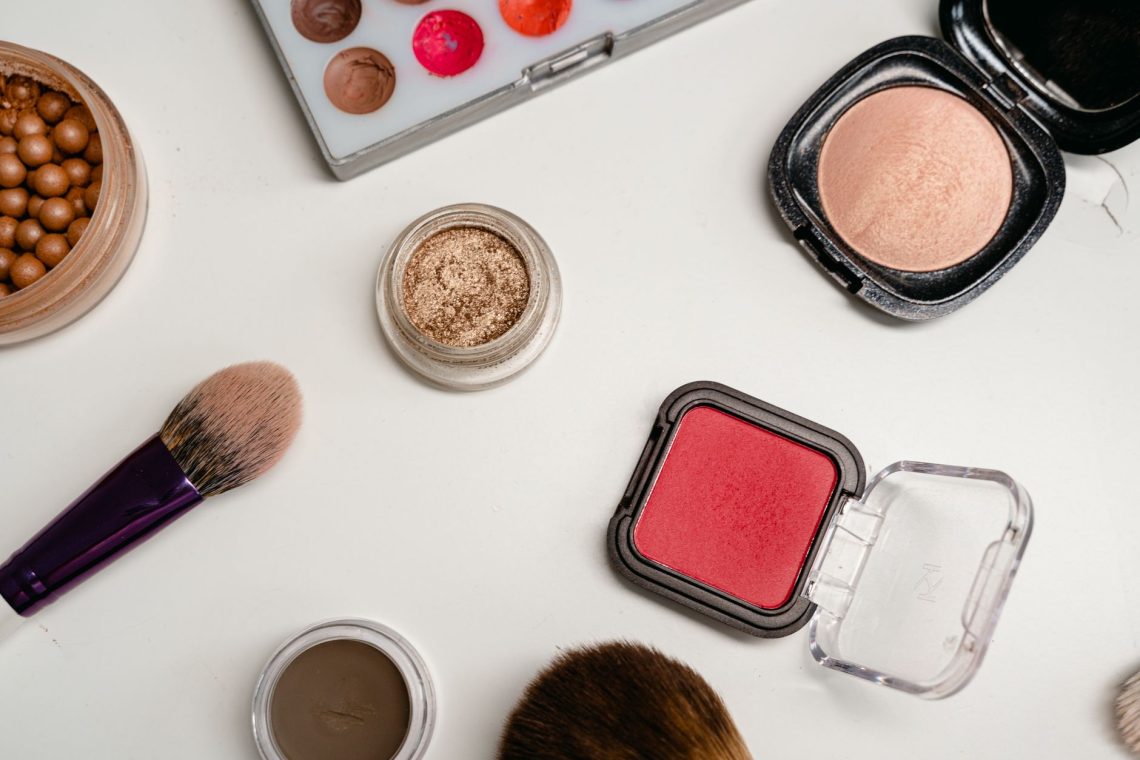
If powder eyeshadow seems to land everywhere except your eyelids, cream can make getting ready feel a little more manageable. There is no loose dust to tap off a brush, and a soft wash of colour can be pressed into place with a fingertip. The trick is to start smaller than you think you need: a thin layer is easier to blend, shape and tidy than a generous swipe.
You do not need an elaborate eye look to make cream shadow worthwhile. One shade, softened at the edges, can give your eyes definition while leaving the rest of your make-up simple. Here is how to find your starting point and build from there without replacing powder fallout with a thick, slippery lid.
Choose a texture you can work with
Cream eyeshadow comes in pots, sticks and tubes, but the packaging alone will not tell you how it behaves. Some formulas stay creamy long enough for leisurely blending; others set quite quickly. Follow the application directions for yours, and work on one eye at a time until you know how much blending time you have.
A stick is handy for placing a little colour close to the lashes. A pot lets you pick up a small amount on a clean fingertip or brush. With a tube, dispense a tiny dab onto the back of a clean hand first, rather than squeezing it straight onto your eyelid. This gives you somewhere to control the amount before it reaches your eye.
For a first attempt, choose a shade you would happily wear as a sheer wash. Soft brown, taupe, muted bronze or a rosy neutral can be easy starting points, depending on your colouring. Look for a colour that shows up gently against your skin; “neutral” does not have to mean pale beige.
Prepare your lids without making them slippery
Start with clean hands and an eyelid free from yesterday’s make-up. If you have just applied eye cream, let it settle and gently blot away any excess sitting on the lid. You want a comfortable surface, without a noticeable layer of skincare underneath the shadow.
Keep foundation and concealer around the eye light, too. A thick layer beneath cream shadow can give it more to move around on. If you need coverage, use only what you need and blend it thinly before adding your eye colour.
An eye primer is an option if your shadow tends to gather in the crease. Apply a small amount according to its directions and allow it to settle before continuing. You do not automatically need primer, concealer and powder underneath: begin simply, then adjust if you notice a particular problem.
Make your first layer almost too small
Think of the first layer as a tint, rather than the finished colour. Pick up a little product with a clean ring finger or a small synthetic eyeshadow brush. If you have taken too much, leave some on the back of your hand. It is much easier to add another touch than to remove a thick patch from a finished eye.
- Place the colour on the mobile lid. Begin near the centre, below the crease, keeping the product away from the inner corner for now.
- Pat it outwards. Use short, light presses to spread the colour across the lid. Avoid pulling the skin or rubbing repeatedly over the same spot.
- Soften the upper edge. With a clean fingertip or clean brush, gently blend the border so there is no obvious stripe where the colour stops.
- Look straight ahead. Open your eyes and check the shape before adding anything else. A little colour should remain visible where you want it.
If the formula sets quickly, finish these steps on one eye before starting the other. Trying to place colour on both lids and then blend can leave the second eye harder to soften.
Blend the border, not the whole eyelid
When a cream shadow looks patchy, the instinct is often to keep buffing. Yet repeatedly sweeping through the centre can lift colour from the very area you want to cover. Once the main wash is even, concentrate your blending on the perimeter.
A small synthetic brush is useful here because you can see exactly where its tip is going. Use tiny movements along the upper and outer edges, with barely any pressure. If you prefer fingers, reserve a clean finger for softening rather than using the one still coated in shadow.
Keep the first shape close to your lid. You can extend it slightly above the crease after checking it with your eyes open. If you have hooded lids, looking straight into the mirror helps you find a visible placement without guessing while your eye is closed. There is no need to take colour all the way to the brow.
Add depth in one small area
Once you are happy with the sheer layer, you may find the look is finished. If you want more definition, add a second tiny amount to the outer third of the lid or close to the upper lashes. You can use the same shade for this; building it locally keeps the result soft.
Follow your formula’s directions on layering. If it allows another layer once set, pat the extra colour into place and soften only the new edge. Avoid coating the whole lid again simply because one corner needs more depth.
For an easy daytime look, pair the wash with mascara and brushed brows. For a little more emphasis, add a fine line of pencil along the upper lashes. Keeping each addition small lets you judge what the eye actually needs.
Tidy up before adding the finishing touches
Cream avoids powder fallout, but a misplaced fingerprint can still happen. Check the outer corners and the skin beneath your eyes before mascara. A clean cotton bud can lift a fresh smudge; if necessary, use a little suitable make-up remover, then let the skin dry before touching up your base.
If one edge has travelled too far, tidy that edge rather than wiping away the entire eye. Keep the clean-up gentle, and use a fresh part of the cotton bud so you are lifting colour instead of spreading it.
Adjust the technique when something goes wrong
- It collects in the crease: try less product next time, check for excess skincare underneath and consider an eye primer if needed.
- It looks uneven: check whether the shadow began setting before you finished blending. Work in a smaller area and complete one eye at a time.
- The colour is too strong: pick up less and sheer it out on the back of your hand before applying. Do not rely on prolonged rubbing to dilute it.
- It feels dry or catches as you blend: use lighter pressure and check the product’s condition and recommended use period. Do not add water, oil or skincare to the container.
Keep lids and tools clean, close the product properly after use and stop using anything that irritates your eyes. When removing your make-up, use a remover suited to the formula and allow it a moment to loosen the colour before wiping gently.
The aim is a soft edge and an amount of colour you enjoy wearing. Start with one shade, one thin layer and a quick check with your eyes open. Once that feels familiar, a touch more depth is easy to add, but a simple wash can be the whole look.