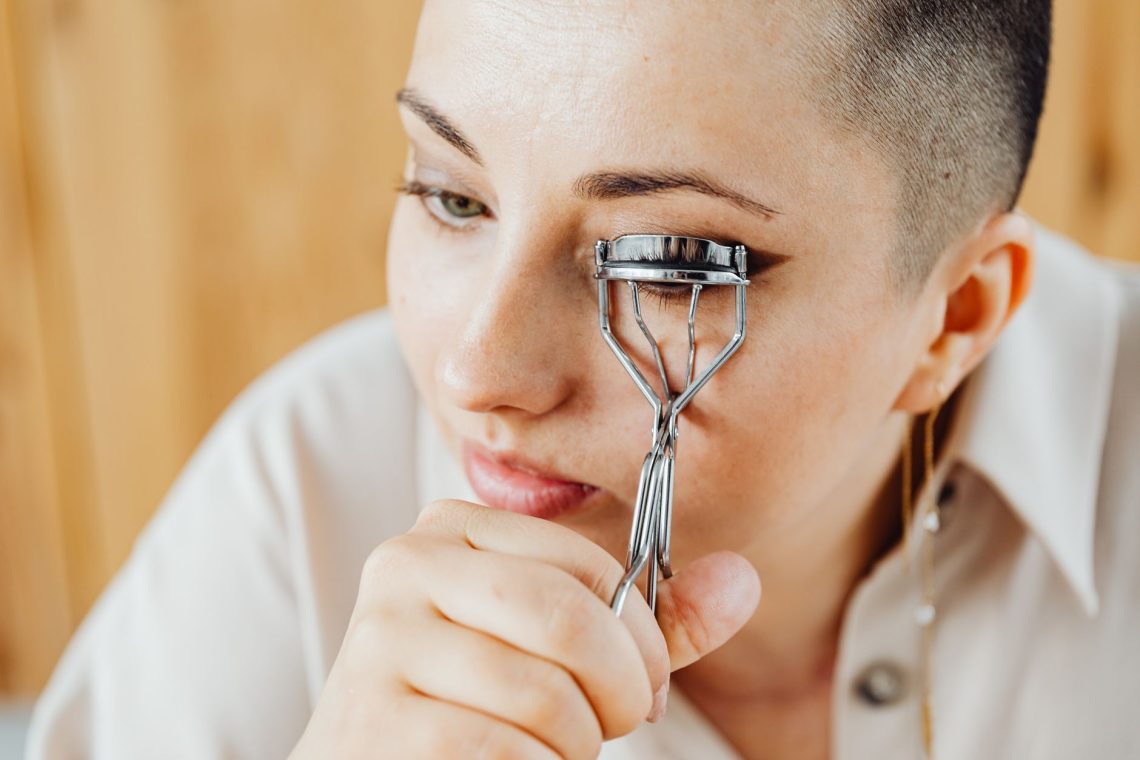
A simple eyelash curl can make an everyday make-up look feel finished without adding much colour or definition. The aim is a soft upward sweep that lets you see the lashes clearly, rather than a sharp bend halfway along them. You can work towards that shape with an ordinary manual eyelash curler, a mirror and a little patience. There is no need to warm the tool or bring a hairdryer into the routine.
The most useful starting point is to accept your own lash shape. Some lashes naturally sweep upwards; others point forwards or downwards. Both eyes may behave differently, too. Think of curling as a small styling adjustment, with comfort guiding every step.
Gather a few simple essentials
Keep the routine easy to repeat by setting out what you need before you begin. Good light and an unobstructed mirror matter more than a crowded make-up bag.
- A clean manual eyelash curler with an intact, properly fitted cushion.
- A mirror positioned so that you can see your upper lash line without stretching.
- A clean lash brush or spoolie for separating bare lashes.
- Your usual mascara, if you want extra definition afterwards.
Inspect the curler before bringing it near your face. The cushion should be secure and smooth, without a deep split or groove. The upper edge should meet it evenly. If the tool looks damaged, catches when you open it or closes unevenly, set it aside. Follow its care instructions for cleaning and replacing the cushion.
Start with clean, completely dry lashes
Curl before mascara. Lashes coated in dried mascara can feel stiff and may stick to the cushion, making release awkward. If you are starting again after wearing make-up, remove the mascara gently and allow your lashes to dry fully before reaching for the curler.
Check that no cleanser, oily residue or eye cream has been left on the lashes themselves. You do not need to scrub them or add powder. Simply begin with a clean surface and keep any skincare around the eyes away from the hairs you are about to curl.
Brush through bare lashes lightly if they are crossing over one another. This also gives you a clearer view of their direction. If your eyes are sore, watering or irritated, leave the curl for another day. This should be a comfortable finishing touch to your beauty routine.
Find a comfortable position
Sit or stand somewhere steady, with your elbow supported if that helps. Hold the mirror slightly below eye level and look down into it while keeping your eye partly open. Adjust the angle until you can see the lash roots clearly; there is no need to tilt your head far back.
Open the curler fully and bring it towards the upper lashes slowly. Let the lashes pass through the opening, with the cushioned bar underneath them. Keep the frame clear of your eyeball and the delicate skin at the lash line.
Position matters more than pressure. You want to begin near the roots, but only as close as you can comfortably place the tool without trapping skin. If you cannot see what you are doing, move the mirror or improve the light before continuing.
Build the curl with gentle stages
1. Check the placement before closing
With the curler still open, check that the upper lashes sit over the cushion. Pay attention to the inner and outer corners, where shorter hairs can escape. Do not push the frame harder against your face to capture every last lash.
Bring the handles together very gently at first. If you feel skin being caught, open the curler fully and reposition it. A pinch is a reason to stop and adjust, never a sign that you should squeeze through it.
2. Make the first soft bend
Once the placement feels comfortable, close the curler with light, steady pressure for a brief moment, following the tool’s instructions. Keep your hand still. Avoid tugging upwards, twisting the frame or pulling it away while it is closed.
Open the curler fully before moving it. Check the result in the mirror. You may already have enough lift for an understated everyday look, particularly if your lashes have a natural curve.
3. Soften the shape through the lengths
If your lashes are long enough to position comfortably, move the open curler a little further along them and make another gentle press. This can help create a gradual curve instead of leaving all the bend at one point.
You do not need to work right to the tips. Short lashes may only allow one comfortable placement, and that is fine. Stop wherever the tool becomes difficult to position securely. More squeezing is not the answer to a shape that is not cooperating.
4. Release and compare
Open the curler completely, then move it away from your eye. Look straight ahead to judge the shape as you will actually wear it. Repeat on the other eye, adjusting the position to suit that side rather than trying to copy the first placement exactly.
A slight difference between eyes is normal. Aim for a similar overall sweep, without repeatedly clamping individual lashes in pursuit of perfect symmetry.
Add mascara without overwhelming the curl
You can stop at the curl for a bare-faced finish. If you prefer mascara, begin with a light coat on the upper lashes. Remove excess product from the brush as directed by the packaging, then use controlled strokes to separate and define.
Keep the finish airy by resisting the urge to add coat after coat. Concentrate on even coverage rather than building a thick layer at the tips. Let the mascara settle before deciding whether you need more.
If a few lashes stick together, gently separate them with a clean lash brush while the formula is still workable. Keep the brush away from the eye itself. Once mascara is on, put the curler away; if you want to redo the curl, remove the product first and start again with dry lashes.
Adjust the technique to your lash shape
For short lashes: prioritise a clear view and a comfortable root placement. Trying to force several presses along a short length makes the routine unnecessarily fiddly. A modest lift with a little mascara can be enough.
For lashes that point downwards: check your placement before increasing pressure. A gentle bend near the roots may look more useful than a dramatic bend towards the ends. If the shape relaxes later, accept a softer finish rather than curling again over mascara.
For outer corners that escape: the curve or width of your tool may not suit your eye shape. A curler should sit comfortably without pinching or pressing into the corners. Consider a different fit instead of angling a closed tool across your lashes.
Keep the everyday routine gentle
Clean away any residue according to the curler’s instructions and store it somewhere dry, where the frame will not be crushed. Check the cushion regularly rather than waiting for it to look badly worn.
Keep heat out of the process, including warmed spoons and heated metal tools. The routine is already complete with careful placement, light pressure and a full release before each movement. On mornings when you are rushed or your hands feel unsteady, skip the curler and brush through your lashes instead. An everyday curl should be a small, manageable detail that fits comfortably into getting ready.