A kitchen timer can be a useful nudge to sit down and tidy your nails. The trick is choosing the right pause: something is baking steadily, the preparation is finished, and you have a little space before the next job. A manicure squeezed between chopping, stirring and draining is more likely to end with a fingerprint than a glossy finish.
This is a simple polish routine for that quieter interval. Think short, neatly shaped nails and a forgiving colour, with enough time afterwards to let the layers settle. You can borrow the waiting time from dinner, but the cooking still sets the schedule.
Choose your window before you choose your colour
Read the recipe through and look at what happens next. An oven dish with a stretch of unattended cooking offers a better opportunity than pasta that needs draining shortly. A pan that needs frequent stirring, a grill that needs watching or anything likely to boil over is a reason to save the polish for later.
Allow roughly ten to fifteen minutes for preparing and painting, then leave a generous stretch for drying. That is a planning guide, not a promise that your polish will be ready for oven gloves when the timer rings. Follow the drying directions on your bottles, and remember that a surface can feel dry while the layers underneath still dent.
If you will need to lift a hot tray, wash vegetables or serve food soon, make this a file-and-tidy session instead. Shaped, clean nails are a perfectly good result. Colour can wait until the kitchen jobs are finished.
Set up somewhere away from the food
Do all your chopping and food preparation first. Wash and dry your hands, then take your manicure supplies to a separate table with good light and ventilation. Keep polish and remover away from food, hot appliances and flames, and follow the precautions on their labels.
Lay everything on a stable, protected surface so you will not be searching through drawers with wet nails. Keep the cooking timer audible. It helps to loosen any stiff bottle lids before you begin, then close each bottle properly after using it.
- A fine nail file.
- Nail polish remover and cotton pads, if you have old colour to remove.
- A base coat, your chosen regular nail polish and a compatible top coat.
- A small clean-up brush or cotton bud for an occasional slip.
- A folded towel or suitable mat to protect the table.
This routine uses ordinary air-drying polish. Gel systems have their own application and curing requirements, so they are not interchangeable with the steps here.
Pick a finish that makes a short session easier
Sheer pink, translucent beige and softly tinted clear polish are useful choices when you want a neat result without painstaking edges. A little variation is less obvious than it would be with an opaque dark shade. Choose a colour you already know how to apply rather than opening an unfamiliar bottle against the clock.
You do not need to match a supposed ideal nude. Look for a shade you enjoy against your hands and clothes. A rosy wash can feel fresh with a grey jumper; a milky neutral can sit quietly beside jewellery. If bright red is your everyday favourite, use it, but give yourself more room for careful application.
Skip glitter removal, intricate nail art and a dramatic change of shape during this particular window. The pleasure of this manicure is having a small, manageable task with a clear stopping point.
Step 1: remove, shape and clean
Remove any existing polish, checking the corners where dark colour can linger. File your nails to a comfortable, practical length, smoothing obvious snags. Follow the shape you already have, gently rounding sharp corners if needed. Keep comparing both hands so one nail does not quietly become much shorter than its neighbour.
Leave the cuticle work simple. You do not need to cut the skin around your nails for polish to look tidy. Avoid picking or digging at the edges, and leave any sore or broken areas alone. This is a quick grooming session, not an invitation to tackle every imperfection.
Wash away filing dust and remover residue, then dry your hands and nails thoroughly. Save hand cream and cuticle oil until after the polish has dried; a greasy nail surface makes a poor starting point for an even coat. Check the preparation instructions for your chosen polish before continuing.
Step 2: apply a thin base coat
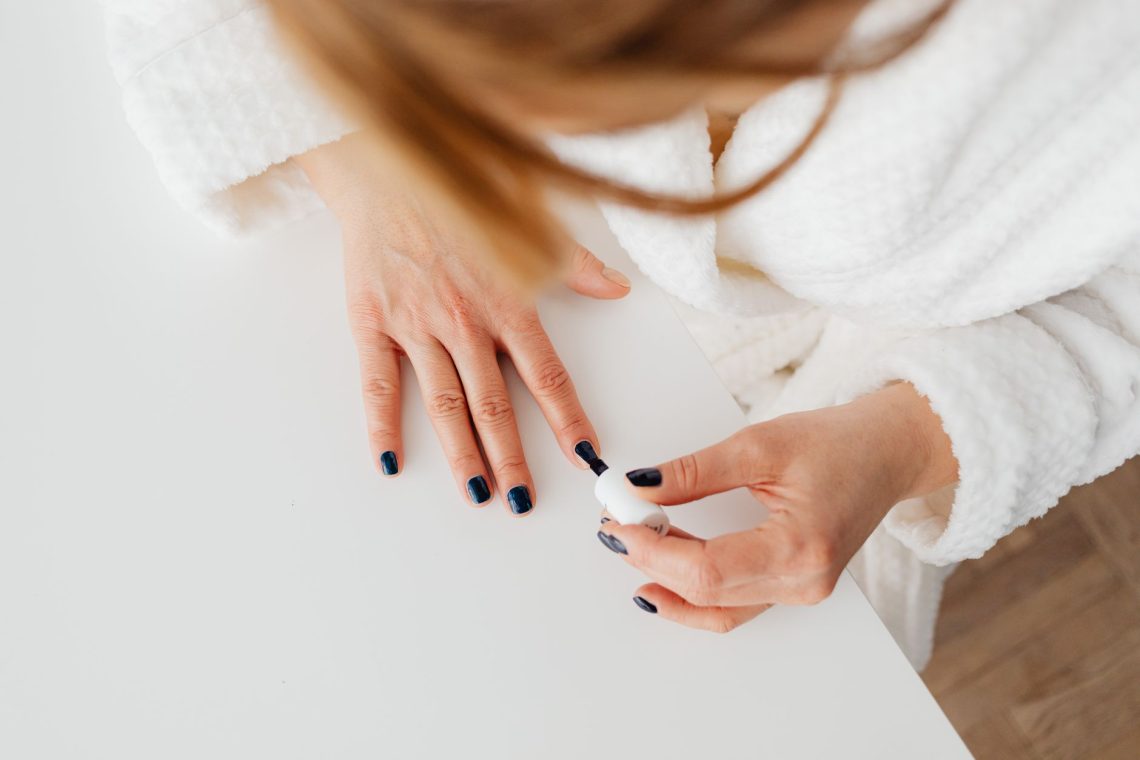
Rest your forearm on the table and keep the hand you are painting relaxed. Working with your less confident hand first can be helpful while your attention is fresh. Wipe excess base coat from the brush at the bottle neck, then apply a thin layer as directed.
Leave a narrow margin around the skin. Trying to cover every fraction of the nail often creates more clean-up than it saves. Let the base coat reach the stage specified on its label before adding colour. If the cooking needs your attention now, close the bottles and deal with it.
Step 3: build the colour lightly
Load the brush lightly. Place it a little above the cuticle, ease it towards the base without touching the skin, then draw it towards the tip. Add a stroke down each side as needed. The exact number of strokes matters less than keeping the layer thin and avoiding repeated brushing as it starts to set.
A sheer first coat may look slightly uneven. Resist flooding it with more polish to make it opaque immediately. Allow the recommended interval, then decide whether it needs another thin coat. Some translucent shades look lovely with one; others benefit from two. Let the finish you want and the bottle instructions guide you.
If you catch the skin, use a small brush or cotton bud with a little suitable remover to tidy the edge carefully. Keep remover away from the painted nail where possible. One tiny wobble is rarely noticeable at normal distance, so do not turn a simple manicure into repeated repairs.
Step 4: finish, then stop fiddling
Apply your top coat according to its directions, keeping the brush light so you do not drag the colour underneath. Close the bottles and leave your hands resting comfortably. Reading something already open is easier than rummaging for a phone, fastening a necklace or folding laundry.
Do not use steam from the pan or heat from the oven as a drying shortcut. Keep your hands away from the cooking area while the polish dries. Quick-drying products may shorten part of the wait, but they still need to be used as instructed and do not make fresh polish instantly resistant to knocks.
If the timer sounds earlier than expected, put the meal first. Avoid handling food with wet polish or remover on your hands. Accept a dent if a necessary kitchen job causes one, and repair it later rather than rushing around hot cookware to protect your nails.
Make the next manicure easier
Once the polish is properly dry, massage in a little hand cream and, if you like, cuticle oil. Keep your small kit together so the next quiet interval begins with everything ready. Notice which part took longest: removing old colour, shaping or waiting between coats.
You can split those jobs across separate moments. File bare nails one evening and add colour another day, when there is less to do. The useful habit is recognising a comfortable pause and choosing a manicure that fits it. Sometimes that means two glossy coats; sometimes it means smooth edges and leaving the bottle closed.