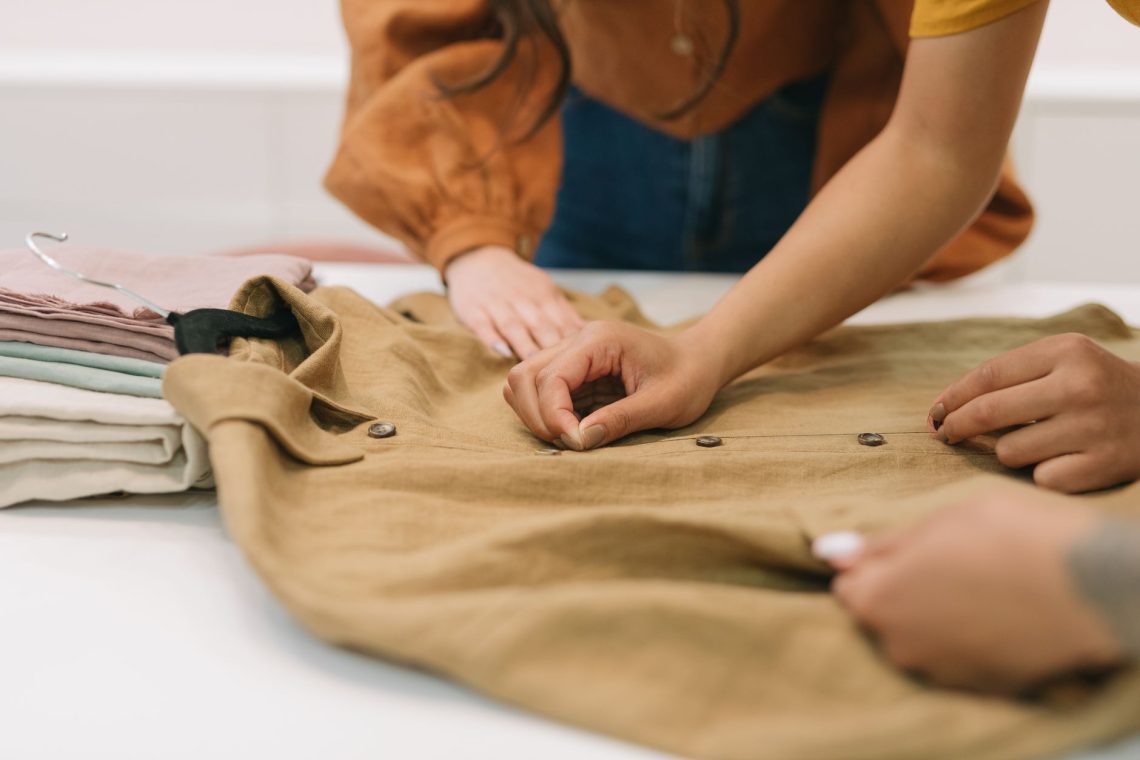
A loose button often announces itself at the least convenient moment: while you are fastening a shirt, pulling on a coat or getting ready to leave. Giving it a few hurried stitches can help, but a lasting repair needs more than extra thread. The fabric must be sound, the stitches must be secured, and the button needs enough room underneath for the garment to fasten comfortably.
You do not need a sewing machine or an elaborate kit. With a needle, suitable thread and a little patience, you can mend an ordinary shirt, cardigan or coat button neatly at home. The aim is a secure fastening that sits correctly, rather than a button pulled so tightly against the cloth that it strains every time you use it.
Gather a few simple supplies
- A hand-sewing needle that passes easily through the button holes.
- Good-quality sewing thread in a colour close to the existing stitching.
- Small scissors and, if available, a seam ripper.
- A pin or washable fabric marker to mark the position.
- A cocktail stick or spare needle for spacing a flat button.
- A small scrap of matching fabric if the area needs reinforcement.
Ordinary all-purpose sewing thread suits many shirts and everyday garments. For heavier fabric, choose a stronger thread that still passes comfortably through the needle and button. Avoid forcing a thick needle through delicate material: it can leave conspicuous holes. Work in good light with the garment lying flat, and use a thimble if pushing the needle feels uncomfortable.
Check why the button is loose
Look closely before adding stitches. If the thread is frayed, broken or unravelling, remove it and start again. Sewing over failing thread leaves a messy bundle and makes it harder to tell whether your new stitches are doing the work. Snip carefully between the button and fabric, keeping the scissors away from the cloth, then lift out the loose ends.
Check the button itself for a cracked edge or a sharp, damaged hole that could cut fresh thread. Replace a damaged button with a spare of the same size and thickness where possible. A larger button may look similar but struggle to pass through the existing buttonhole.
Next, inspect the fabric. If the button has pulled a hole in it, stitching into the same weak spot will not solve the problem. Place a small patch of compatible fabric behind the area and secure it with small stitches before attaching the button through both layers. For torn silk, fine knitwear or a structured coat with concealed construction, a professional repair may give a cleaner result.
Keep the original position
Before removing every trace of the old stitching, mark where the button sits. The old needle holes may be enough to guide you, but a small washable mark is useful if they are difficult to see. Check any marking tool on a hidden area first.
If the button has already fallen off, lay the garment flat and line up its edges as they sit when worn. Match the missing button to its buttonhole, using neighbouring buttons as a guide. Pin the position and check the alignment before sewing. Do not move the button simply to make a tight garment close: that can distort the front and place more strain on the fastening.
Prepare and anchor the thread
Cut a manageable length of thread, roughly 45–50 cm. Thread the needle, bring the ends together and tie a small knot so that you are sewing with a doubled strand. Very long thread is tempting, but it tangles more readily and can become worn as it repeatedly passes through the fabric.
Start from the inside of the garment at your marked position. Pull the thread through until the knot rests against the back without dragging into the cloth. Make one or two small anchoring stitches where the button will cover them. Keep these close together, but avoid repeatedly piercing exactly the same hole in fragile fabric.
On a lined garment, check where your needle emerges. If you can reach the back of the outer fabric without catching the lining, work there. Do not stitch blindly through hidden layers or open a lining seam unless you are comfortable putting it back neatly.
Sew on a flat button
Flat buttons usually have two or four holes. They need a small amount of space beneath them so the buttonhole fabric can slide into place. This space is formed by a short column of thread, called a thread shank.
- Position the button. Bring the needle up through one hole from underneath. Lay a cocktail stick or spare needle across the top of the button, between the holes, so your stitches pass over it.
- Make the first stitch. Take the needle down through another hole and through the garment. Pull gently until the stitch sits against the spacer. Keep the button centred over your mark.
- Repeat the route. For a two-hole button, make several even passes between the holes. With doubled thread, around four to six passes is a useful starting point; adjust for the thread and garment rather than building an oversized bundle.
- Complete four-hole buttons evenly. Sew each pair of holes, copying the parallel or crossed pattern used on the other buttons. Give both pairs a similar number of passes.
- Remove the spacer. Finish with the needle between the button and fabric. Slide out the cocktail stick or spare needle and lift the button gently to reveal the slack beneath it.
A thin shirt needs only a little clearance, while a thicker cardigan or coat needs more. The spacer is a guide, not a fixed measurement for every garment. Keep checking that the button sits level and that the cloth underneath remains smooth.
Wrap and secure the thread shank
With the needle emerging beneath the button, wind the working thread around the bundle of stitches between the button and garment. Make several snug wraps to gather them into a neat stem. Wrap the threads only, without catching the surrounding cloth, and stop before the stem becomes bulky or rigid.
Take the needle through the fabric to the inside. Make a small stitch beneath the button, leave a loop, then pass the needle through that loop and draw it closed. Repeat to secure the finish. Trim the thread with a short tail rather than cutting directly against the knot. The button should now stand slightly away from the fabric without wobbling on a long stalk.
Adjust the method for a shank button
A shank button has a built-in loop on the back instead of holes through its face. Sew through that loop and the fabric several times, keeping the button facing the same direction as its neighbours. Because the loop already provides clearance, you usually do not need a spacer or a wrapped thread stem.
Fasten off on the inside with small locking stitches as above. On heavy outerwear, a small backing button can help distribute the pull if the garment already uses this construction. Copy the original arrangement, sewing through the main button, cloth and backing button, without tightening them until the fabric puckers.
Check the repair before wearing it
Fasten and unfasten the button a few times. It should pass through the buttonhole without force, then rest comfortably with the garment edges aligned. Give it a gentle tug to check that the stitches hold. If the fabric gathers or the buttonhole cannot sit underneath, undo the repair and allow more clearance.
Finally, check the neighbouring buttons for fraying. Catching a loose stitch early is easier than replacing a lost button, especially on a favourite blouse or coat with distinctive fastenings. A sound fabric base, even stitches and a secure finish give your repair the best chance of lasting through regular wear.